Procedure for waterproofing using bituminous waterproofing membrane
The waterproofing membrane comes on-site in the form of rolls manufactures and packed in the factory properly sealed. The specifications and safety manuals of these membranes provided by the manufacturer should be read before the installation process. Fire safety and prevention is the most important while using this membrane.
The bituminous waterproofing membranes are unfolded on the site and laid firmly on the surface with tar-based adhesives using blowtorches. These membranes have 2 to 4 mm thick waterproof materials. A membrane should be flexible with elongation 150 % to cover any small cracks, strong, chemical & UV resistant, flexible enough to take any shape over which it is laid.
1. Surface Preparation
The surface to be membrane should be clear from dirt, dry and clean. Must not be installed during adverse weather and below 450 F. For slope up to 3 inches the membrane should be laid perpendicular to slab and more than 3 inches slope should be laid parallel to the slope. This ensures that water is never be running at a joint lap edge.
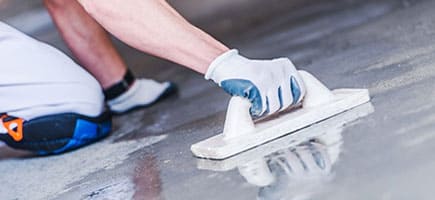
Concrete Substrate: Smoothing
The surface must be smoothed with a trowel and any cracks or dips must be filled with mortar. Any roughness must be removed, as must any remains from building work, such as nails, metal sheets, timber, etc.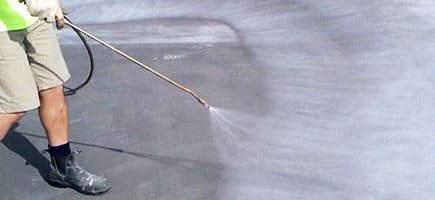
Concrete Substrate: water, Ice, Curing
Before application, the substrate must be clean and dry. In the case of concrete and hollow-core substrates, it is advisable to allow a curing period of 8 days to 3 weeks, depending on the season, before laying.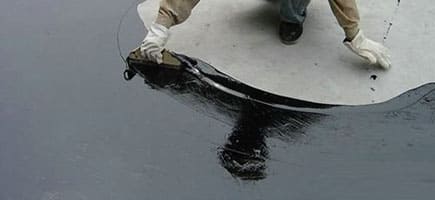
Concrete Substrate: Primer
Spread the bituminous adhesion primer. The bitumen polymer membranes must not be applied until the primer is completely dry: about 8 hours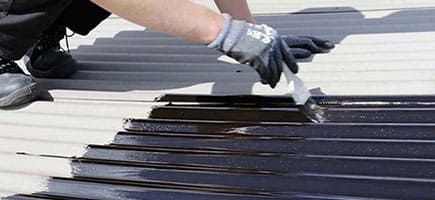
Sheet Metal Substrate
If the membrane is to adhere to sheet metal, spread primer and wait for it to dry before moving on to laying the membrane.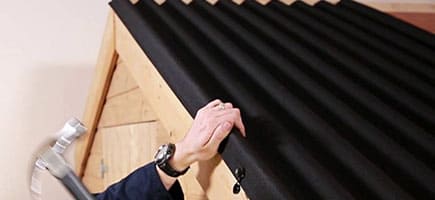
Timber Substrate
Spread the bituminous adhesion primer. On timber boarding, sheets of bitumen paper or ROLLBASE should be nailed down with large-headed nails to protect the timber from the burner flame. The membrane should then be fixed with complete adhesion.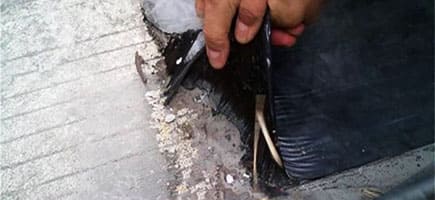
Substrate Over Old Membranes
If the condition of the old membrane allows it to be retained, it can be used as a substrate. First, however, remove unstable and perished parts, separate any protective sheet metalwork and flatten any bubbles, etc. Apply a coat of primer before fixing the membrane.2. Roll Alignment
- Alignment: Unroll the roll and align it, overlapping the edge on the neighbouring sheet. Rewind it bit by bit towards the centre and begin flame welding.
- Unrolling at low temperature: At low temperatures avoid impacts and violent unrolling which could damage the membranes themselves. Unroll carefully and not by kicking the roll.
- Surfaces of membrane: The part of the sheet which has to melt is the bottom face, which is embossed with a pattern of squares and coated with a thin film of FLAMINA. When the flame is applied, the FLAMINA melts, indicating the exact melting point. The upper face of the membrane is covered with talc screen-printed in spots. This treatment serves to ensure that the coils separate properly, even at high temperatures.
3. Flame Laying

Flaming
As the heating proceeds, the Flamina film retracts and the
talc-coated face darkens until it takes on a bright appearance and any embossing
flattens out,
the surface becomes shiny and the membrane is ready for adhesion to the
substrate and on the overlaps. Flame heating must bring about retraction of the
film and flattening of the embossing,
but heating the membrane any further can damage the polyester reinforcement
(which melts at 260°C)
causing it to retract, undulate, curl or in the most serious cases to puncture.
Insufficient heating, on the other hand,
can cause insufficient adhesion to the base, between the layers or on the
overlaps.

Filling the joints, what not to do
Reinforcement of the membrane is affected, weakening it; also, the upper
protective layer is removed and the reinforcement is left exposed.
Often the operator tends to carry out a perfunctory weld on 10 cm of overlap and
then rely almost completely for the seal of the membrane on giving it a "good
filling",
not taking into account that the adhesive strength of 1 or 2 cm of filling is
insufficient for sealing the joint. In short, it is a waste of time to do a
useless job twice on the overlap.
It is quicker and safer to carry out the welding correctly the first time, while
unrolling the roll, releasing the stream of melted mixture once to make a
permanent job.
Avoiding Puncturing: Use suitable footwear to avoid perforating the waterproofing membrane
4. Flame-Laying on vertical surface
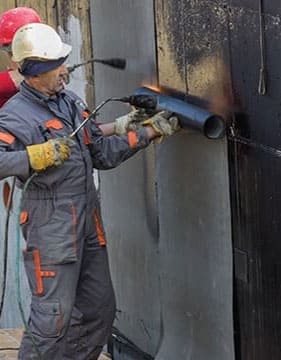
Bituroll membranes have excellent resistance to sliding under heat and do
not slip even when fixed vertically to concrete surfaces.
Using the flame to heat both the membrane and the surface to which it is to adhere will
result in tenacious adhesion without the need for mechanical fixings. The material's grip is
produced by cooling,
when the mixture in the melted layer returns to the solid state. It can happen in the summer
months that both the membrane and the entire substrate are so hot that it takes a long time
for sufficient cooling to occur for the material to get a grip on the vertical surface and
become self-supporting. The operator must therefore control the heating carefully and in the
summer months will have to
support the sheet manually a little longer till it has begun to get a grip, in other words
till it has cooled down. If this is not done, a sheet which is still too hot will not remain
attached to the wall and will fall down.
It is therefore important to wait for cooling to take place and not to give in to the
temptation to reheat a sheet which has become detached because the operator did not wait
long enough, otherwise it will never cool and he
will never succeed in making it adhere to the vertical surface.
5. Paint

Spread the protective paint using a roller, taking care to apply two coats at right angles
to each other. For detail work, use a brush.
The presence of uneven areas on the roof, leading to the formation of puddles, can locally
cause the paint to lift.
Do not paint areas of the membrane which are perpetually immersed in water. Painting over a
mineral-covered membrane ensures considerably longer life than on a smooth membrane.

